
Tactical Map at start of battle
10th Bavarian division has
orders to attack Oberenzell
9th Bavarian division has
orders to support 10th division
1st Austrian division has
orders to hold Obernzell
2nd Austrian division has
orders to move south of Obernzell

Table at start of battle
Obernzell is centre right
Centre road leads to Passau (left) and
Rohrbach (right)
Bottom right road leads to Withering
River can only be crossed by a bridge
1st Austrian division in
and around Obernzell
2nd Austrian division
arrive centre right start of move 1
10th Bavarian division
arrive centre left start of move 1
9th Bavarian division
arrive centre left start of move 5
Each division has 3200 infantry, 400
cavalry and 400 gunners

Move 1 – 0800 to 0900
Left – 10th Bavarian
division arrive and start to cross bridge
Right - 2nd Austrian
division arrive centre right move south of town

Move 2 – 0900 to 1000
Left - 10th Bavarian division starts
to deploy south of bridge
Right - 1st Austrian
division move towards hill

Move 3 – 1000 to 1100
Left – Bavarians continue to deploy
between bridge and hill
Right - 1st Austrian
division continue to move towards hill

Move 4 – 1100 to 1200
Left - 10th Bavarian
division complete deployment between bridge and hill
Right - 1st Austrian division cavalry
deploy on hill
Move 5 – 1200 to 1300
Left – 9th Bavarian
division arrive and start to cross bridge
10th Bavarian division receive orders to advance and engage enemy
10th Bavarian division receive orders to advance and engage enemy
Right – 1st Austrian
division cavalry move to observe Bavarians
2nd Austrian division
receive orders to advance and attack bridge

Cavalry melee
Bavarian light cavalry charge Austrian
dragoons on hill
Dragoons counter charge, but lose
melee suffer 10% casualties and rout
Note – Bavarian cavalry have high dice
roll of 10, resulting in enemy rout

Move 6 – 1300 to 1400
Left – 9th Bavarian
division continue to deploy to north of road
10th Bavarian division
form square, cavalry charge Austrian cavalry
Right – 1st Austrian
division change orders to Halt after losing cavalry melee
Infantry form square and
artillery unlimber behind hill
2nd Austrian division
advance either side of road

Move 7 – 1400 to 1500
Left – Bavarians continue to deploy
east of bridge
Right – Austrians are ordered to
concentrate in front of town

Move 8 – 1500 to 1600
Left – Bavarians artillery opens fire
on Austrian centre
9th division move to
occupy hill to outflank enemy
Right – Austrians artillery open fire
on Bavarian centre
Hussar brigade rallies behind the
hill
Both sides start to suffer casualties
Bavarians are looking for a way to
outflank the Austrians rather than advance into the killing zone in the centre.

Move 9 – 1600 to 1700
Left – Bavarian artillery pound
Austrian infantry
Bavarian cavalry advance to edge of
hill overlooking shaken infantry
Right - Austrian gunners return fire,
but are unable to subdue enemy gunners
Two infantry squares on left
flank are shaken (yellow marker) due to casualties
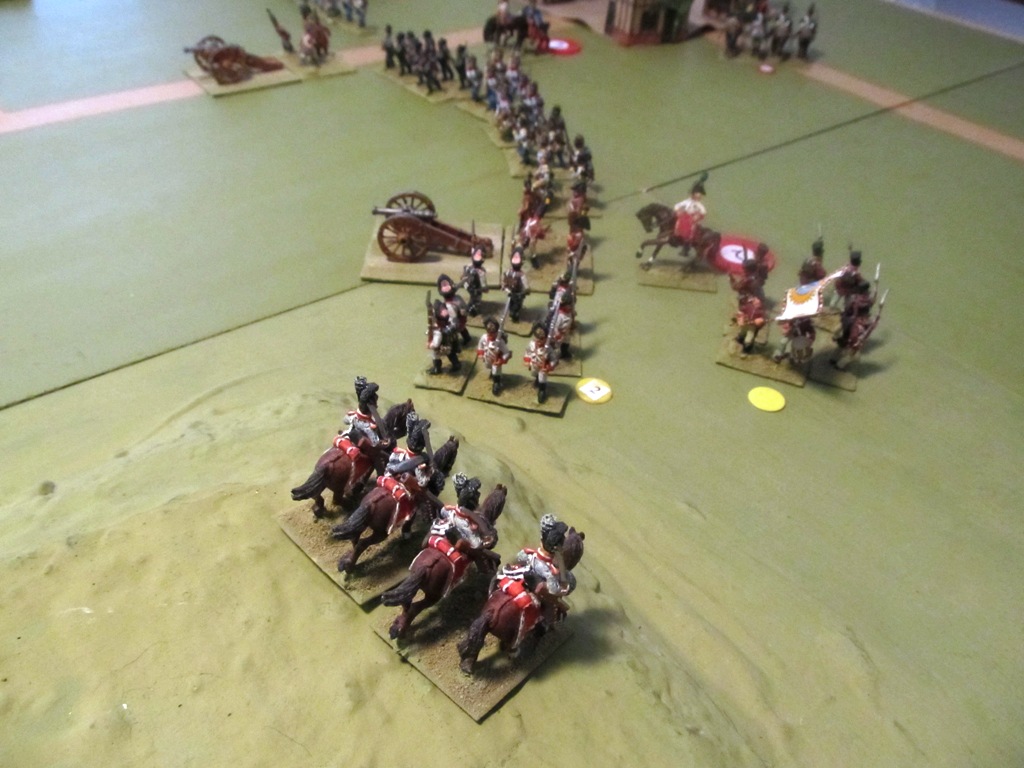
Cavalry v square
Bavarian cavalry overlook two Austrian
infantry squares protecting the left flank
On the left is a grenadier brigade, on
the right a militia square
The cavalry charge, and rout, the
grenadiers.
The grenadiers rout into the gunners,
who pass their morale but are disordered due to rout
The militia have test their morale due
to rout within 4”, they also pass morale
The cavalry test to see whether they
have to pursue

Move 10 – 1700 to 1800
Left – 10th Bavarian
division are climbing the hill in support of the cavalry
The cavalry have withdrawn to the
hill disordered after their charge
9th Bavarian division
have sent one brigade to occupy the farm
Their cavalry are covering the flank
near the farm
They are ordered to Hold as it is
too late to reach the enemy before nightfall
Right – 1st Austrian
division (top) are holding their position
2nd Austrian division
have lost their cavalry and grenadiers who are in rout
Gunners have abandoned their guns
and found shelter in the nearby square

Move 11 – 1800 to 1900
Left – Bavarian left have occupied the
farm
Bavarian right have occupied the
hill
Cavalry are held in check by
Austrian squares
Right – Austrian corps is holding its
position to recover their guns
Square on the far left have moved
forward to hold cavalry on hill
Gunners have returned to their guns
under cover of the square

Move 12 – 1900 to 2000
Left – Both Bavarian divisions have
orders to hold their position
Right – Austrian corps has recovered
their guns and prepare to retreat
Summary
1st Austrian corps has lost
480 infantry and 40 cavalry
7th Bavarian corps has lost
240 infantry and 40 gunners
The Austrians have one infantry and
one cavalry brigade in rout
General Wrede has achieved his
objective of crossing the river Inn and establishing a strong bridge head on
the eastern bank
General Lichtenstein is outflanked,
has lost one infantry brigade and half of his cavalry are in rout. He is unable to hold his present position.
During the night he retreats towards
Rohrbach
Great battle even then I lost it !
ReplyDelete